Showing posts with label How-To. Show all posts

15 January 2013

homemade glitter glue


Remember how we were the 3 Amigos for Halloween?
I never did get around to sharing how we made our costumes for under $25.
But now that the holidays are over and we'll be keeping ourselves busy with indoor crafts, now is the perfect time to let you know my little secret. I used what clothes we already had first and then picked up the rest of the pieces at a thrift store.The real key to making them so cheaply was by making my own glitter glue.

Seriously, who wants to spend $4 for a tiny tube of glitter glue? 
I knew I would use a ton and I wasn't about to fork out a fortune for glitter glue.

So I made my own. It was really easy and super cheap.
All you need is: Elmer's glue and glitter.
Mix the glitter and glue together in a bowl until it reaches your preferable consistency.

Scoop it into a bag and then snip off a corner of it to apply.
Or you can really splurge and buy a frosting applicator in the cake section.

Apply it to fabric*, paper, or anything else!
Plan ahead because it will take overnight to completely dry.
This is how our costumes turned out with our Homemade Glitter Glue.


* I wouldn't recommend machine washing any fabrics that have homemade glitter glue on them.
Spot wash by hand only. 

05 June 2012

mini s'more kits

I was putting together a birthday package for my little sister when I realized that I needed to put something out of the ordinary in there. Since she won't be able to have many campfires on her own this summer (since she is serving a mission for our church), I thought a mini s'more kit would be just the perfect thing.

Never heard of a mini s'more? I think they are just about the cutest thing. Not to mention, they are fun to make. Let me tell you how to make them.

First, you need gather a tea light, toothpicks, mini marshmallows, golden grahams cereal, and chocolate chips.

Then, you light the tea light. Put a marshmallow on the toothpick and then roast it over the flame.


Once it is roasted to your liking, put it between 2 golden grahams. And don't forget to add a chocolate chip in there, too!

Now you have a mini s'more. Pop it in your mouth and make s'more!

I packaged all the contents up to make this mini s'more kit:

This would also make for a fun date idea or activity to do with friends during a game night. Or how about a party favor or gift? The possibilities are endless!


05 May 2012

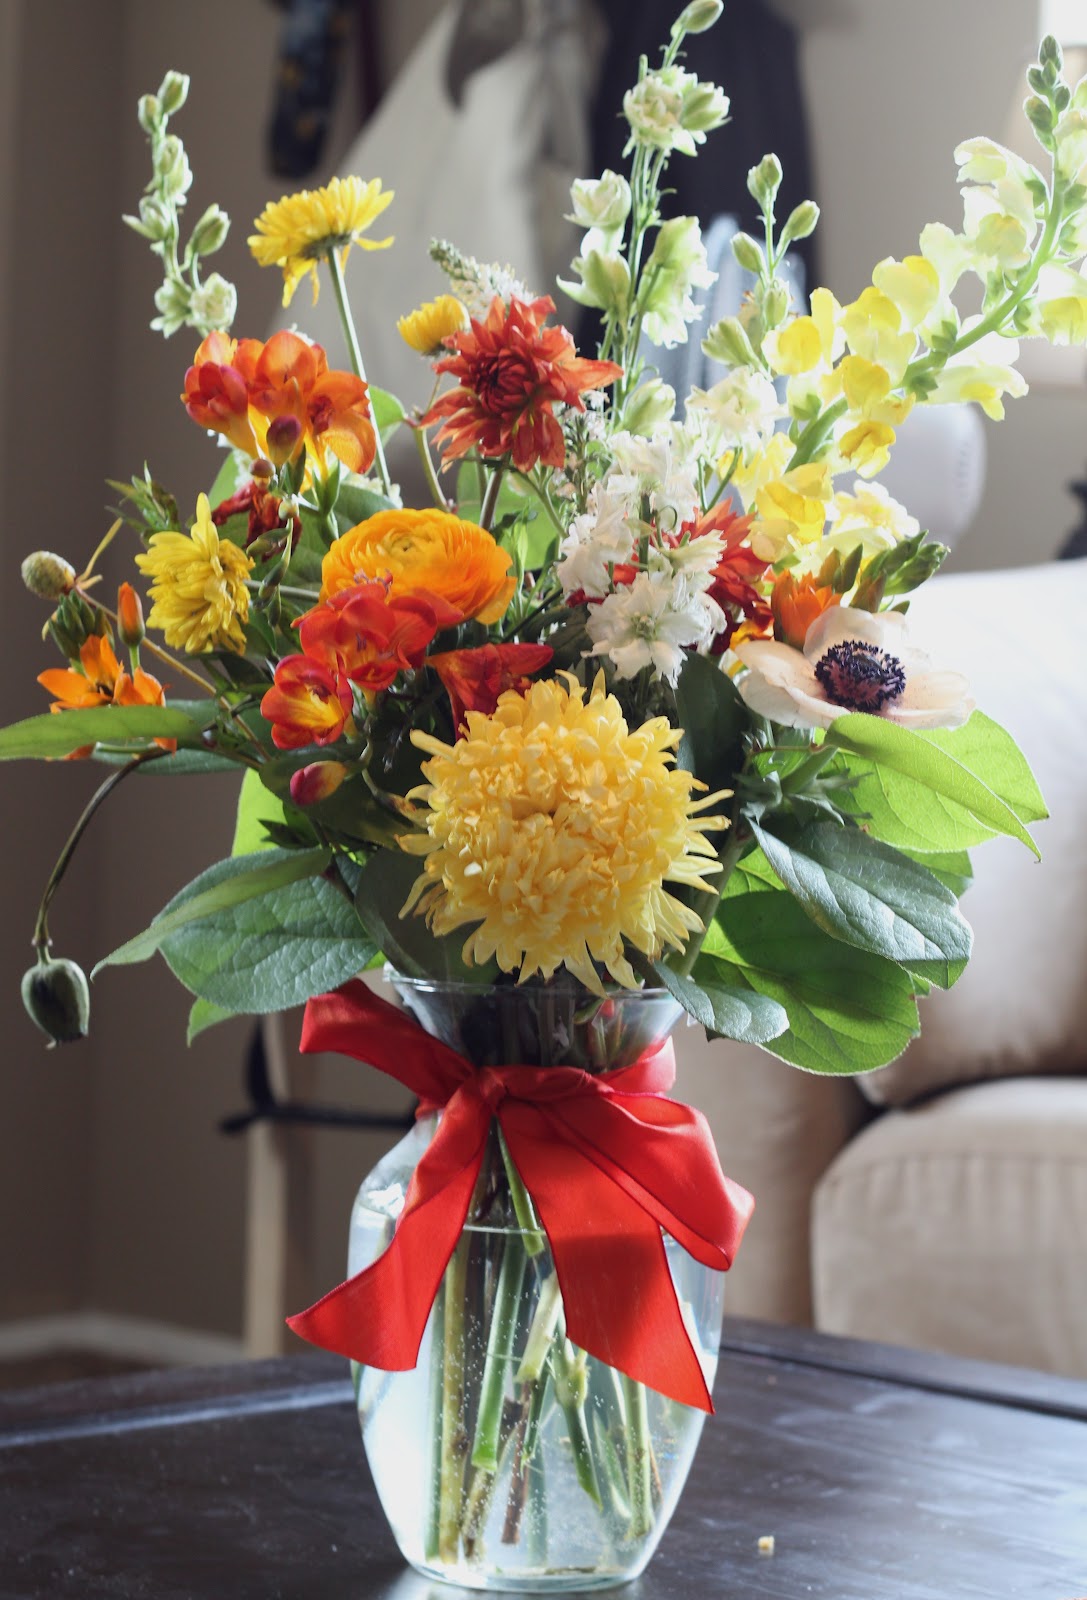
flower arranging 101

I learned how to arrange flowers the other night. There is actually a method to it as opposed to just putting a bunch of flowers in a vase. I won't be going into floral design anytime soon, but I wanted to write down what I learned before I forget.


1. Use special flower tape to make a grid across the opening of the vase. This will help keep the flowers standing straight up.
2. Fill the vase 3/4 full of water and add plant food to prevent bacteria from growing.
3.Use 2 different kinds of greenery. Make sure you clean off the stem so no leaves get in the water.The greenery should be shorter than any of your flowers.
4. Decide what color scheme you will go with. Monochromatic, complimentary, etc.
5. Use 2 vertical flowers to create height.
6. Choose one flower to be your focal point.
7. Fill in with other flowers. Use different types to create pops.
8. Add in more greenery if needed.
9. Finish off by adding a bow to tie everything together.

11 May 2010

Personalized T-shirt How-To

I was inspired by my friend Andrea who does the cutest crafts. She has posted on here a few times and she is the one I always go to for a craft idea. Back in December, she made these adorable shirts (click here). I thought I would try making one for my niece who was turning one. Her dad is going to Ghana for 7 weeks so I wanted to do a thoughtful gift.

When I was asking Andrea where she gets freezer paper to do it, she said, "Oh, I've got plenty!" And she mailed me out some from across the country! If that isn't a true friend, I don't know what is.

With Andrea's help and inspiration from this blog I made one! It was pretty simple and it would be even easier if you had a cricut. But nonetheless, all we used was:
  • Freezer paper
  • Blank shirt
  • Fabric paint
  • E-xacto knife to cut pattern out of freezer paper
This is how it turned out... (Sorry for the bad picture. I had to snap in the car right before we wrapped it up)

The possibilities are endless with this project. I am excited to make some more!

LinkWithin

Related Posts with Thumbnails